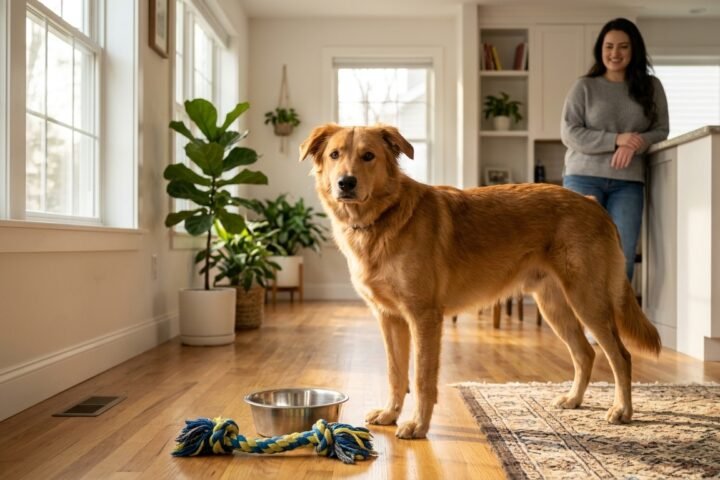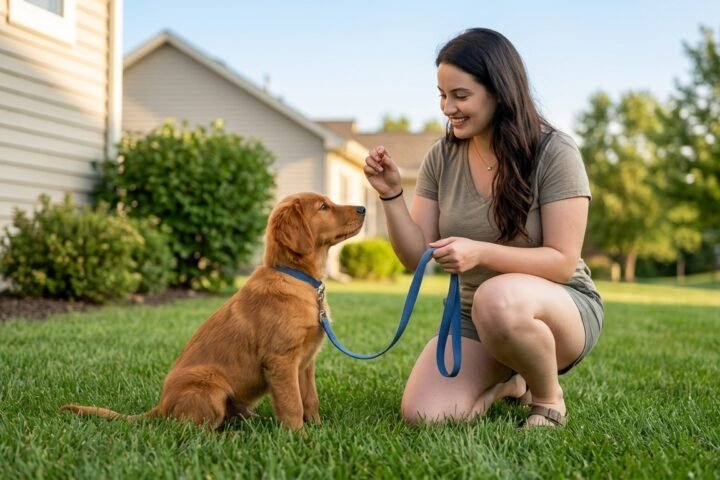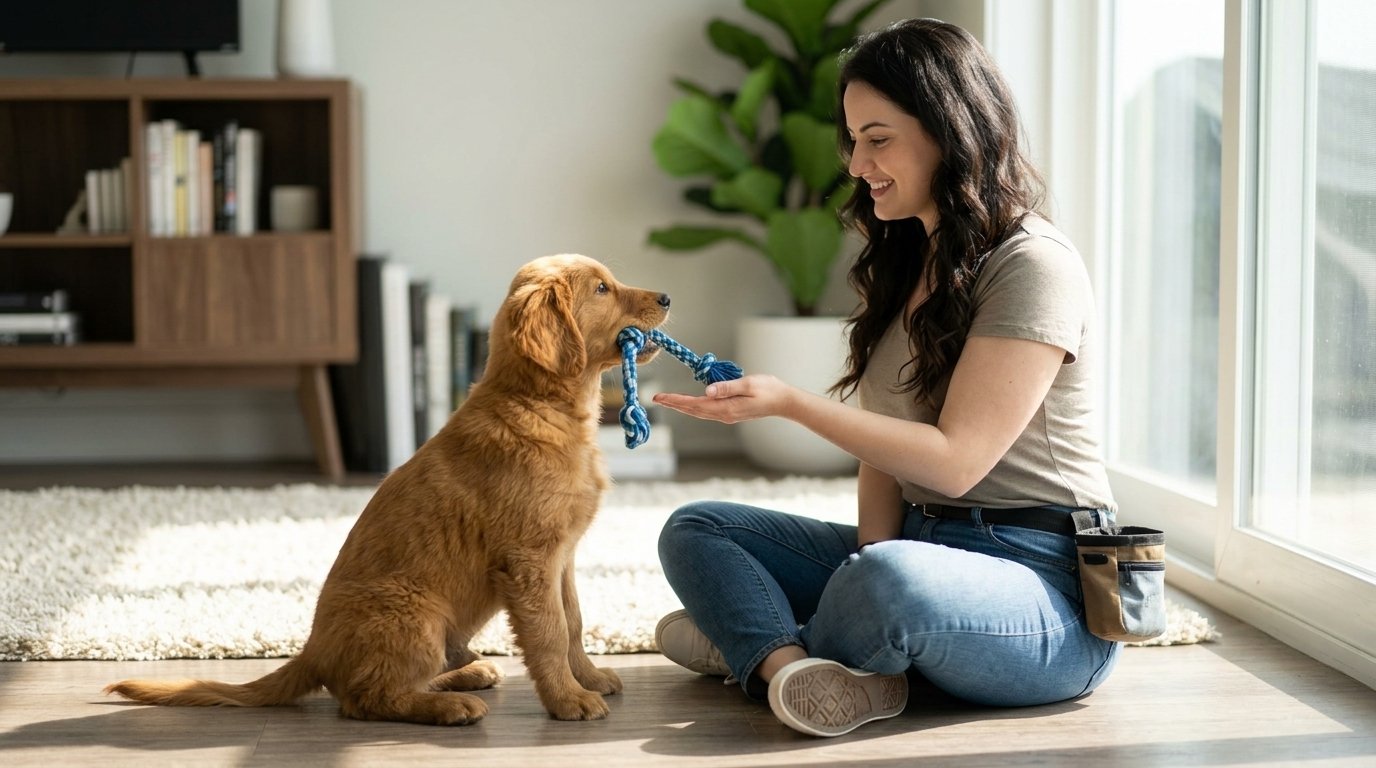
Knowing how to teach a dog to drop it can make playtime easier, protect your belongings, and potentially prevent a medical emergency. The cue asks your dog to voluntarily release whatever is already in their mouth, whether that is a ball, tug toy, sock, chicken bone, or another unsafe object.
The most reliable method is not to chase your dog or pull the object away. Instead, teach that releasing an item produces something worthwhile. With carefully timed rewards, short sessions, and gradual practice, “drop it” can become a fast and dependable response rather than an argument between you and your dog.
This guide explains the complete process, how to move beyond visible treats, what to do when training stalls, and when an apparent training problem requires professional help.
Table of Contents
Why Every Dog Should Learn “Drop It”
Dogs explore their environment with their mouths. Puppies may pick up almost anything, while adult dogs can become excited about food wrappers, children’s toys, laundry, sticks, or objects found during walks.
A dependable release cue has several practical benefits:
- It makes fetch and tug games easier to manage.
- It can stop a stolen-object chase before it begins.
- It reduces the need to reach toward your dog’s mouth.
- It helps you exchange inappropriate objects for safe alternatives.
- It can prevent a dog from chewing or swallowing something hazardous.
- It supports calmer communication around valued belongings.
“Drop it” is especially valuable because grabbing at a dog’s mouth can create conflict. A dog may clamp down, run away, swallow the object, or begin protecting items more intensely when they expect people to take things by force.
The goal is voluntary cooperation. The dog learns that releasing an object is safe and rewarding.
This cue fits naturally into a broader foundation of household skills. Once your dog understands it, you can combine it with good manners training at home to build calmer, more predictable daily behavior.
“Drop It” Versus “Leave It”: What Is the Difference?
Although people sometimes use the phrases interchangeably, they teach two different behaviors.
| Cue | What it means | Example |
|---|---|---|
| Drop it | Release an object already in the mouth | Your dog is holding a sock |
| Leave it | Move away from or ignore something before taking it | Your dog notices food on the sidewalk |
| Give | Place or release an object into a person’s hand | Your dog returns a retrieving dummy |
| Down | Place the body in a lying position | Your dog lies on the floor |
Use one consistent phrase for each action. If “drop” already tells your dog to lie down, select a different release cue such as “give,” “out,” or “trade.”
Teaching both “drop it” and “leave it” provides better protection than relying on either cue alone. “Leave it” can prevent contact with an unsafe item; “drop it” becomes the backup if the dog picks it up.
The American Kennel Club’s guidance on teaching “leave it” similarly defines that cue as ignoring an item rather than releasing one already held.
What You Need Before Training Begins
Learning how to teach a dog to drop it does not require elaborate equipment. You need appropriate practice objects, rewards your dog genuinely values, and a quiet environment.
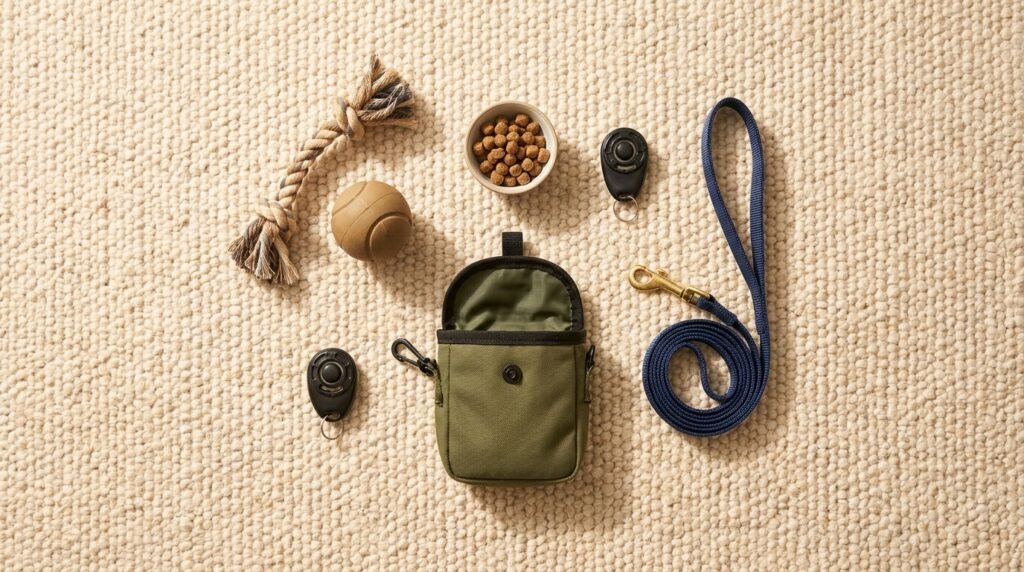
Prepare the following:
- Two safe, moderately interesting toys
- Small, soft treats that can be eaten quickly
- A treat pouch or pocket
- An optional clicker
- A quiet room without competing distractions
- A lightweight leash if your dog habitually runs away
Begin with a low- or medium-value toy. Do not start with a favorite chew, stolen food, tissue, bone, or anything your dog has guarded previously. The first exercise should be easy enough for the dog to succeed.
Choose rewards that are more appealing than the starter toy. Small pieces of plain cooked chicken or a suitable commercial training treat may work better than ordinary kibble. Treats should be appropriate for your dog’s diet and small enough that multiple repetitions do not add excessive calories.
The American Veterinary Society of Animal Behavior recommends reward-based methods for dog training and behavior modification. That principle is particularly relevant here because confrontation can make a dog more defensive about objects.
Establish a marker
A marker tells your dog the exact moment they perform the desired behavior. You can use a clicker or a brief word such as “yes.”
If your dog does not know the marker yet, spend a minute building the association:
- Say “yes” or click.
- Immediately deliver a treat.
- Repeat approximately 10 times.
- Do not ask the dog to perform anything during this introduction.
The marker is not praise by itself. It functions as precise information: That action earned the reward.
Keep sessions short
Practice for three to five minutes at first. Several short, successful sessions are usually more productive than one long session that ends in frustration.
Puppies and easily distracted dogs may need sessions lasting only one or two minutes. Stop while your dog is still engaged.
How to Teach a Dog to Drop It in 7 Steps
The following system begins with an easy exchange and gradually transforms “drop it” into a verbal cue that works without a visible reward.
Step 1: Offer a low-value toy
Give your dog a safe toy they enjoy but do not intensely value. Allow several seconds of relaxed play.
Remain neutral and avoid immediately reaching toward the toy. You want your dog to feel comfortable holding it while you are nearby.
If your dog will not take the toy, make it more interesting by moving it gently across the floor. If the dog still has no interest, choose another toy rather than placing it directly into their mouth.
Step 2: Present a higher-value reward
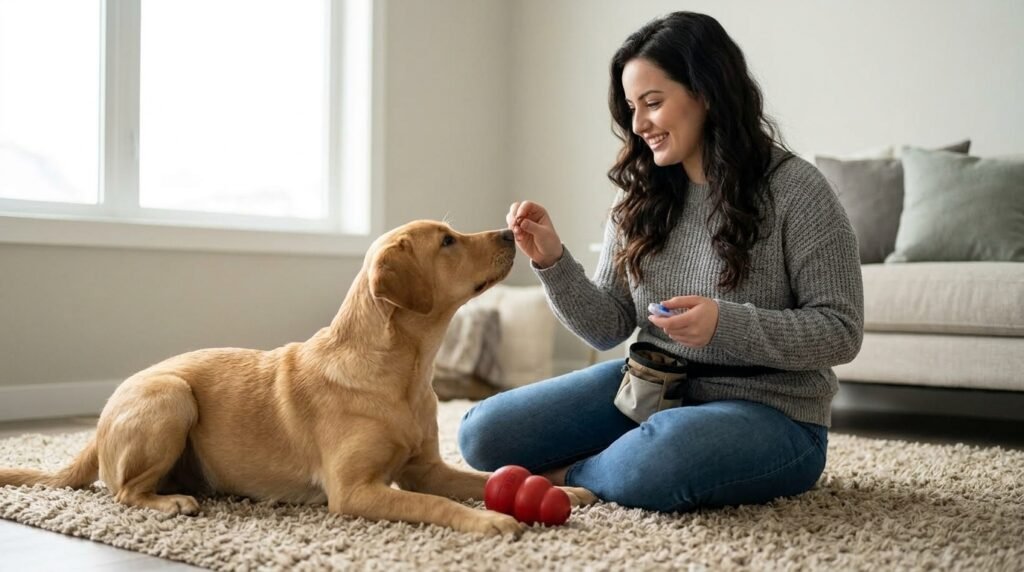
Hold a treat near your dog’s nose without pushing it against their face. Most dogs will open their mouth to eat the treat, causing the toy to fall.
The instant the toy leaves the mouth, mark the behavior with “yes” or a click. Then give the treat.
Do not say “drop it” yet. At this stage, your dog is learning the physical action and its consequence. Adding the cue before the behavior is predictable may teach the dog that the phrase means “continue holding the toy while I show you food.”
The AKC’s drop-it training method also begins by exchanging a relatively low-value toy for a more valuable reward.
Step 3: Return the toy
While your dog eats the treat, pick up the toy. When safe, offer it again and resume the game.
Returning the object is important. If releasing a toy always makes it disappear, your dog may learn to hold it more tightly. Giving it back teaches a more reassuring lesson: letting go does not necessarily end the fun.
Repeat the exchange five to eight times. Look for a relaxed mouth and increasingly quick releases.
If the object is unsafe, however, do not return it. The give-back principle applies only to safe training objects.
Step 4: Add the verbal cue
Once your dog predictably releases the toy when the reward appears, begin adding your chosen phrase.
Say “drop it” once, pause briefly, and then present the treat. Mark the moment the dog releases the toy and deliver the reward.
The order matters:
- Say the cue.
- Pause for about one second.
- Present the treat if needed.
- Mark the release.
- Reward the dog.
- Return the safe toy.
After several repetitions, the dog should begin anticipating the exchange when they hear the phrase.
Use a calm, friendly voice. Repeating “drop it, drop it, drop it” teaches the dog that the first cue has no importance. Say it once, then help your dog complete an easier version of the exercise.
Step 5: Hide the treat before giving the cue
This stage separates the cue from the visible food.
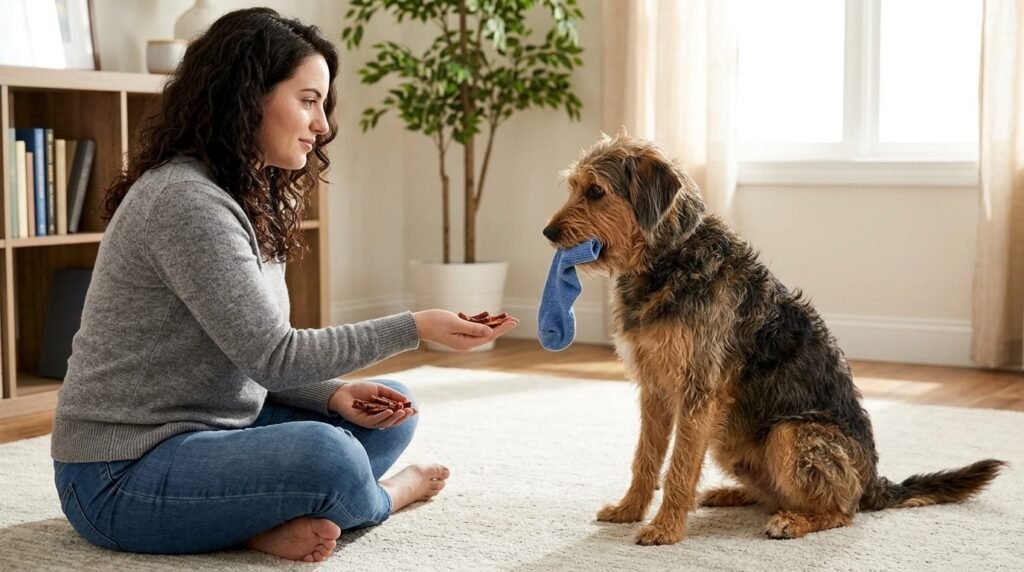
Keep treats in a pouch, behind your back, or on a nearby counter. Give the dog the toy, say “drop it,” and wait one or two seconds.
If your dog releases it, mark immediately and retrieve the reward. If not, show the treat and complete the familiar exchange. On the next repetition, make the task easier or use a more valuable reward.
This is how to avoid permanent bribery. A bribe appears before the behavior to persuade the dog; a training reward arrives after the behavior and reinforces the choice.
Do not eliminate rewards too quickly. Your dog is still learning. Once the response becomes dependable, you can vary what follows the release—food, praise, another toy, or renewed play.
Step 6: Practice with different safe objects
Dogs do not automatically understand that a skill learned with one rubber toy also applies to a rope, ball, or household object. This process is called generalization.
Practice with:
- A soft toy
- A rubber toy
- A rope toy
- A ball large enough not to be swallowed
- A dog-safe chew of modest value
- A harmless household object used under supervision
Start each new object at an easy level. If your dog releases a ball but will not release a chew, the dog is not necessarily being stubborn. The new item may simply be much more valuable.
Do not progress to higher-value belongings until your dog responds successfully at least eight or nine times out of ten with easier items.
Step 7: Add distance and everyday distractions
The final stage of how to teach a dog to drop it is making the skill useful outside the original training room.
Change one difficulty at a time:
- Stand one step farther away.
- Practice in another room.
- Ask during a calm game of fetch.
- Introduce a family member nearby.
- Practice in the yard.
- Use a mildly more appealing object.
- Rehearse while your dog wears a leash on a quiet walk.
Avoid changing distance, distraction, and object value simultaneously. If the dog stops responding, reduce one variable and rebuild success.
Continue rewarding excellent responses, especially when the situation is difficult. A skill may be familiar in the living room but still feel entirely new at the park.
Using “Drop It” During Fetch and Tug
Games provide natural opportunities to strengthen the cue without making training feel repetitive.
During fetch
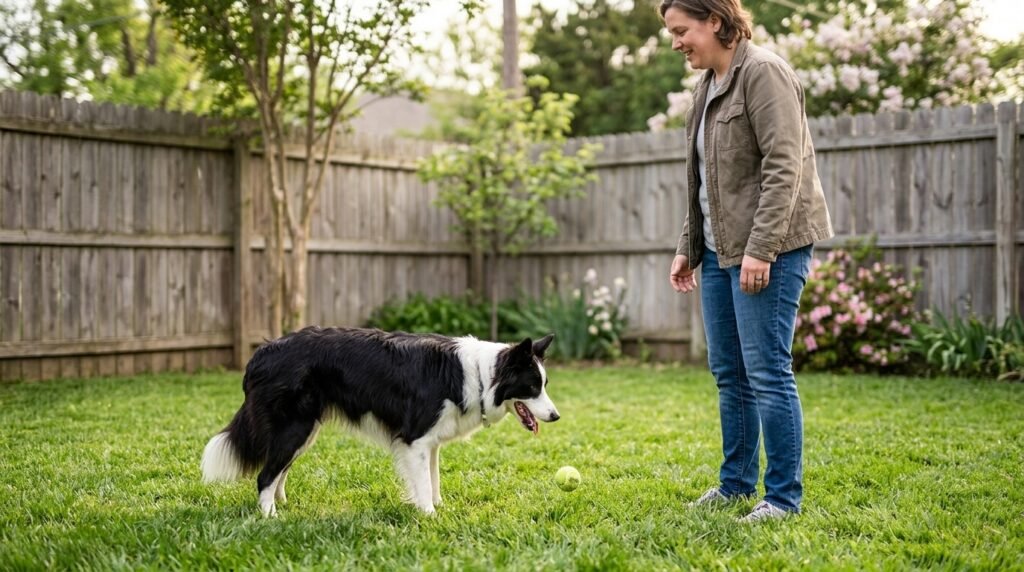
When your dog returns with the ball, say “drop it” once. Mark and reward the release by throwing the ball again.
The next throw becomes the functional reward. For many toy-motivated dogs, it is more valuable than food.
If your dog runs away with the ball, do not chase. Move in the opposite direction, use an upbeat voice, or practice in a smaller enclosed area. A lightweight leash can prevent the game from turning into keep-away, but it should only be used under direct supervision.
The AKC’s guide to teaching fetch emphasizes building individual parts of the retrieve before expecting the complete behavior.
During tug
Play tug for several seconds, then make the toy completely still. Keep your arms relaxed and avoid continuing to pull. When your dog releases the motionless toy, mark, reward, and restart the game.
Once release is predictable, say “drop it” immediately before you stop the toy’s movement.
Restarting the game teaches that letting go can make play continue. This is more effective than treating the cue as a punishment that always ends the fun.
Keep tug controlled and appropriate for your dog’s size and physical condition. Avoid forceful upward pulling or twisting the dog’s neck.
Why Your Dog Will Not Drop an Object
When owners investigate how to teach a dog to drop it, the most common obstacle is not defiance. Usually, one part of the exercise is too difficult or insufficiently rewarding.
| Problem | Likely reason | Adjustment |
|---|---|---|
| Dog ignores the treat | Object is more valuable than the reward | Use an easier object or better reward |
| Dog releases only after seeing food | Visible treat has become part of the cue | Pause after saying the cue, then retrieve the hidden reward |
| Dog grabs the toy again immediately | Reward delivery is too close to the object | Toss the treat a short distance before picking up the toy |
| Dog runs away | Chasing has become a game | Stop pursuing and practice in a smaller space |
| Dog stops taking the toy | Too many exchanges or treats are too exciting | Shorten the session or use a second toy |
| Dog responds indoors only | Behavior has not been generalized | Add new settings gradually |
| Dog holds tighter when approached | Concern about losing the object | Stop reaching, increase distance, and rebuild positive trades |
| Dog growls or freezes | Possible resource guarding | End the exercise and obtain qualified help |
Common mistakes to avoid
Do not pry your dog’s jaws apart during routine training. Do not pull the object in a way that starts an unintended tug game. Avoid yelling, looming over the dog, cornering them, or punishing a growl.
These reactions can weaken trust and teach the dog that human approach predicts conflict. PawMindTips’ guide to habits that can damage a dog’s trust explains why intimidating or inconsistent interactions can affect your relationship.
Other common mistakes include:
- Starting with an extremely valuable object
- Practicing until the dog loses interest
- Saying the cue repeatedly
- Taking every released toy away permanently
- Advancing before the previous step is reliable
- Expecting the cue to work immediately in an emergency
- Using “drop” for both releasing an object and lying down
Training should remain cooperative. If either you or your dog becomes frustrated, pause and return later with an easier exercise.
Resource Guarding Requires a Different Safety Plan
Resource guarding may include freezing, stiffening, turning away, lowering the head over an object, showing the whites of the eyes, growling, snapping, or biting when someone approaches.
A growl is valuable warning information. Punishing it may suppress the warning without changing the dog’s discomfort, potentially making a future bite appear less predictable.
If your dog guards objects:
- Do not test how close you can get.
- Do not corner or physically overpower the dog.
- Keep children and visitors away during incidents.
- Prevent access to frequently guarded objects when possible.
- Contact a veterinarian to rule out pain or other medical factors.
- Work with a qualified reward-based trainer or veterinary behaviorist.
Ordinary drop-it exercises are not a substitute for an individualized behavior plan. Professional help is particularly important if the dog has snapped, bitten, guarded multiple resources, or become more intense over time.
AVSAB provides guidance on selecting a humane dog trainer, including looking for professionals who use rewards rather than fear, pain, or physical force.
What to Do If Your Dog Has Something Dangerous
Training how to teach a dog to drop it improves safety, but no cue is guaranteed under every condition. A poisonous substance, medication, sharp item, battery, string, fishhook, or object causing choking requires immediate judgment.
If the dog can breathe and is not guarding the item
Stay calm. Avoid chasing or shouting, which may prompt the dog to flee or swallow.
Use your trained cue once and offer an unusually valuable trade. Scattering several treats a short distance away may encourage the dog to release and move away while you secure the object.
Then identify exactly what the dog had, how much may be missing, and when exposure occurred.
If poisoning may have occurred
Contact your veterinarian, an emergency veterinary hospital, or a recognized animal poison-control service immediately. Do not induce vomiting or administer home remedies unless a veterinary professional specifically instructs you to do so.
PawMindTips’ guide to household items that can be poisonous to dogs can help owners recognize common hazards, but suspected exposure still requires case-specific professional advice.
If the dog is choking
Signs can include severe distress, repeated gagging without moving air, pawing at the mouth, blue or pale gums, collapse, or inability to breathe normally. This is an emergency.
Go to an emergency veterinarian immediately. If possible, call while traveling so the clinic can prepare. Do not blindly sweep your fingers deep inside the mouth, because you could push the obstruction farther back or be bitten.
If the dog swallowed the object
Contact a veterinarian promptly even if the dog initially appears normal. Batteries, sharp objects, string-like material, medication, toxic food, and objects capable of causing intestinal obstruction can become time-sensitive emergencies.
Learning how to teach a dog to drop it is preventive training; it does not replace veterinary care after ingestion.
FAQs
How long does it take to teach a dog to drop it?
Some dogs understand the initial trade within one session, but reliable responses around valuable objects and distractions can take several weeks. Practice for a few minutes at a time and advance only when your dog succeeds consistently at the current level.
Can I teach “drop it” without using treats?
Yes. A second toy, another throw of the ball, or restarting a tug game can reward the release. Food is often useful during early learning, but the long-term goal is to use varied rewards rather than showing food before every response.
Why does my dog run away when I say “drop it”?
Your dog may expect the object to be taken or may have learned that being chased is entertaining. Stop chasing, practice in a smaller area with low-value toys, reward releases generously, and frequently return the safe toy.
Should I take an object directly from my dog’s mouth?
Avoid forcibly removing ordinary objects because doing so may cause tighter holding, swallowing, fear, or a bite. Use a trained trade whenever possible. A choking emergency is different and requires immediate veterinary action; handle it according to professional emergency guidance.
Conclusion
Understanding how to teach a dog to drop it begins with one simple principle: make releasing an object safer and more rewarding than holding onto it.
Start with an ordinary toy, mark every voluntary release, reward promptly, and often return the safe item. Add the verbal cue only after the behavior is predictable. Then fade the visible treat and gradually practice with different objects, locations, and distractions.
Avoid chasing, shouting, or forcibly removing routine objects. If your dog freezes, growls, snaps, or guards possessions, stop the exercise and seek qualified assistance. When a toxic, sharp, obstructive, or choking hazard is involved, prioritize immediate veterinary guidance over continued training.
Consistent, positive practice can turn “drop it” into a practical everyday skill—and one that may protect your dog when it matters most.