Knowing how to teach a dog to leave it can make everyday walks, meals, playtime, and life around the house much safer. The cue tells your dog to disengage from something rather than investigate, grab, or eat it.
That “something” could be a dropped piece of food, medication, garbage on a sidewalk, another dog’s toy, or an object you simply do not want your dog touching.
The goal is not to frighten your dog away from tempting objects. Instead, you will use reward-based training to teach a simple lesson: moving away from something can lead to something better.
This guide walks you through the process from a treat hidden in your hand to using “leave it” around everyday distractions.
Table of Contents
Why “Leave It” Is an Important Dog Training Skill
Dogs investigate their environment with their noses and mouths. That curiosity is normal, but it can become dangerous when the item they discover is toxic, sharp, spoiled, or small enough to swallow.
The FDA’s guide to potentially dangerous items for pets lists numerous household hazards, including human medications, chocolate, grapes and raisins, xylitol-containing products, bones, and other edible and non-edible items.
A reliable leave-it cue can help you interrupt your dog’s approach before contact occurs.
You might use it when your dog notices:
- Food dropped while you are cooking
- Trash during a walk
- Medication on the floor
- A child’s toy
- Another dog’s food
- Animal waste
- A dead animal
- A tempting plant
- Something sharp or breakable
- An unfamiliar object you cannot immediately identify
But safety is only part of the benefit.
Learning how to teach a dog to leave it also gives your dog practice in disengaging voluntarily. Rather than physically pulling your dog away from everything interesting, you teach them that turning away and checking in with you can be rewarding.
That fits into broader everyday training. If you are building your dog’s basic skills, PawMindTips’ guide to teaching your dog sit and stay uses the same principle of starting with easy repetitions and gradually increasing difficulty.
Leave It vs. Drop It: What Is the Difference?
“Leave it” and “drop it” are related safety cues, but they should not mean the same thing.
| Cue | What You Want | Example |
|---|---|---|
| Leave it | Do not take or approach the item | Dog notices food on the sidewalk |
| Drop it | Release an item already in the mouth | Dog has picked up a sock |
| Stay | Remain in the requested position | Dog waits while you open a door |
| Come | Move toward you | Dog returns when called |
Think of leave it as prevention and drop it as your backup after pickup.
If your dog sees a chicken bone before reaching it, you want “leave it.”
If the bone is already in your dog’s mouth, you need a release behavior instead. PawMindTips has a separate guide explaining how to teach a dog to drop it without turning object removal into a chase or confrontation.
Keeping the cues distinct makes communication clearer.
Do not repeatedly alternate between “leave it,” “drop it,” “no,” and “give me that” for the same behavior. Decide what each cue means and have everyone in the household use it consistently.
What You Need Before Teaching Leave It
Learning how to teach a dog to leave it does not require complicated equipment.
Start with:
- Small training treats
- Two different reward values if possible
- A quiet indoor area
- A marker word such as “yes,” or an optional clicker
- A leash for later exercises
- Several safe practice objects
Choose treats your dog genuinely enjoys.
Your everyday kibble might work in an easy room, while chicken or another dog-safe high-value treat may be more useful around stronger distractions. What counts as rewarding depends on the individual dog and situation.
The American Veterinary Society of Animal Behavior explains that a reinforcer must actually increase the behavior it follows, and a reward that works in a quiet environment may be too weak when competing distractions are present.
Use reward-based training
This guide uses rewards rather than intimidation or physical corrections.
AVSAB’s guidance on reward-based dog training recommends reward-based methods and discusses welfare concerns associated with aversive approaches.
For leave-it training, that means you do not need to shout “no,” jerk the leash, frighten your dog, or punish them for looking at the practice item.
Instead, make the correct choice easy to understand and worthwhile.
Keep sessions short
A few successful minutes are more useful than continuing until your dog becomes bored or frustrated.
For a beginner, try several repetitions and then take a break.
If your dog suddenly starts making mistakes, consider whether the session has become too long or the exercise has become too difficult.
How to Teach a Dog to Leave It in 7 Steps
The easiest way to teach leave it is to begin with a controlled situation where your dog cannot accidentally get the forbidden reward.
As your dog succeeds, gradually make the exercise more realistic.
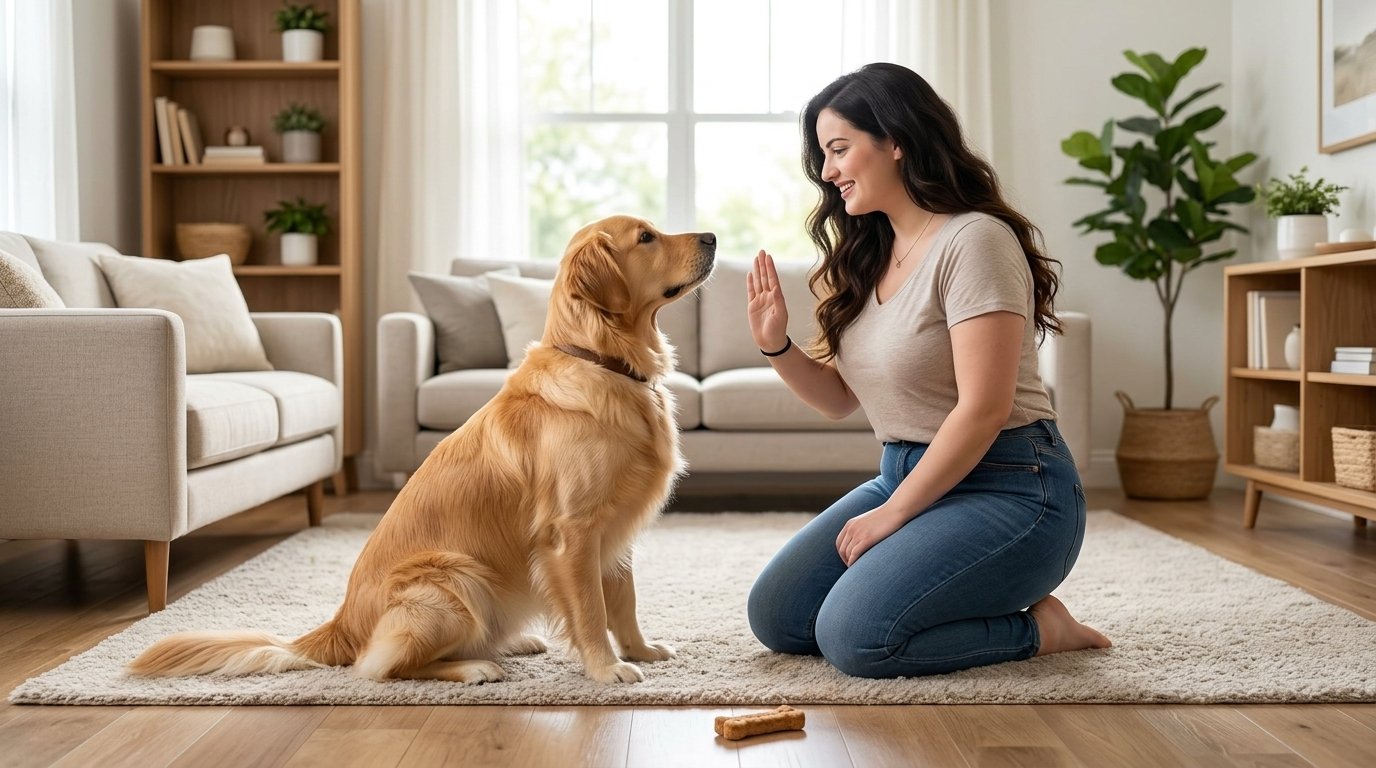
Step 1: Put a low-value treat in your closed hand
Place a piece of food in your palm and close your fist around it.
Present the closed hand to your dog.
Your dog may:
- Sniff
- Lick
- Nudge
- Paw gently
- Stare at your hand
Wait.
Do not keep saying “leave it” yet, and do not scold your dog for investigating. At this stage, the dog does not know what you want.
The moment your dog pulls their nose away, looks away, or otherwise stops trying to obtain the treat, mark that choice with “yes” or a click.
Then reward from your other hand.
That distinction matters. The dog is learning that disengaging from one item produces another reward.
Repeat until your dog begins moving away from the closed fist relatively quickly.
Step 2: Build voluntary disengagement
Continue the closed-hand exercise, but start looking for a clearer response.
Rather than marking the smallest accidental movement, wait for your dog to deliberately back away or look toward you.
The pattern becomes:
temptation appears → dog disengages → marker → reward
Do not open your fist because the dog paws harder or persists longer. That could teach persistence rather than self-control.
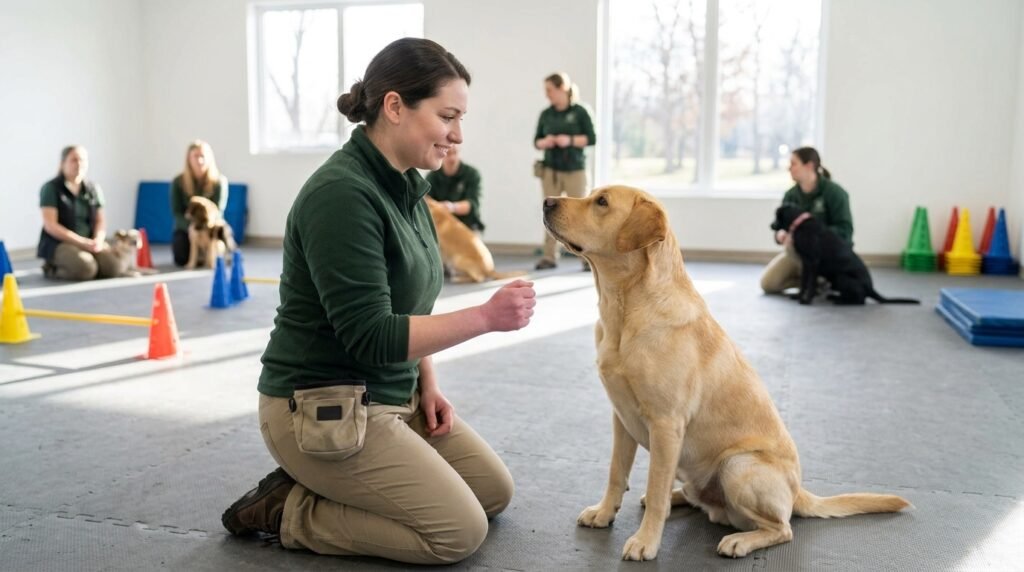
When your dog consistently backs away without prolonged sniffing or pawing, you are ready to make the exercise slightly harder.
Step 3: Practice with an open hand
Place the treat on your open palm.
If your dog moves toward it, simply close your hand.
When your dog backs away, open your hand again.
The treat becoming available to see is not permission to take it.
Mark and reward successful disengagement using a different treat from your other hand.
At first, you may only be able to keep your palm open for half a second. That is fine.
Gradually work toward your dog seeing the food in your open hand without lunging for it.
This stage is important because real-world temptations will not conveniently hide themselves when your dog approaches.
Step 4: Move the practice item to the floor
Now place a low-value treat on the floor and cover it with your hand.
Allow your dog to notice it.
When your dog moves away or looks toward you, mark and reward from your other hand.
As success improves, uncover the floor treat for increasingly longer periods.
If your dog lunges for it, calmly cover it again.
Do not turn the exercise into a race between your hand and your dog’s mouth.
If your dog repeatedly beats you to the treat, make the setup easier rather than trying to become faster.
You can also practice standing with the treat on the floor while keeping your dog on leash. Position yourself so the dog cannot reach the practice item if they make a mistake.
Step 5: Add the “leave it” cue
A common mistake when learning how to teach a dog to leave it is repeating the phrase from the first attempt, before the dog understands the behavior.
Instead, add the cue when your dog is already predictably disengaging.
Set up an easy repetition.
Say:
“Leave it.”
Then present the familiar temptation.
When your dog disengages, mark and reward.
With repetition, the words begin predicting the behavior your dog already understands.
Say the cue once.
Avoid:
“Leave it. Leave it! LEAVE IT!”
If your dog does not respond to the first cue, repeating it louder does not necessarily clarify the task. Reduce the difficulty and practice at a level where the dog can succeed.
Step 6: Add distance and movement
So far, most practice has been stationary.
Real life is not.
Place a low-value treat on the floor while your dog is safely restrained or in another area. Bring your leashed dog into the room.
Approach only close enough that your dog notices the item but can still think and respond.
Say “leave it.”
When your dog disengages, mark, reward, and continue moving away.
Gradually practice walking past the item rather than stopping directly beside it.
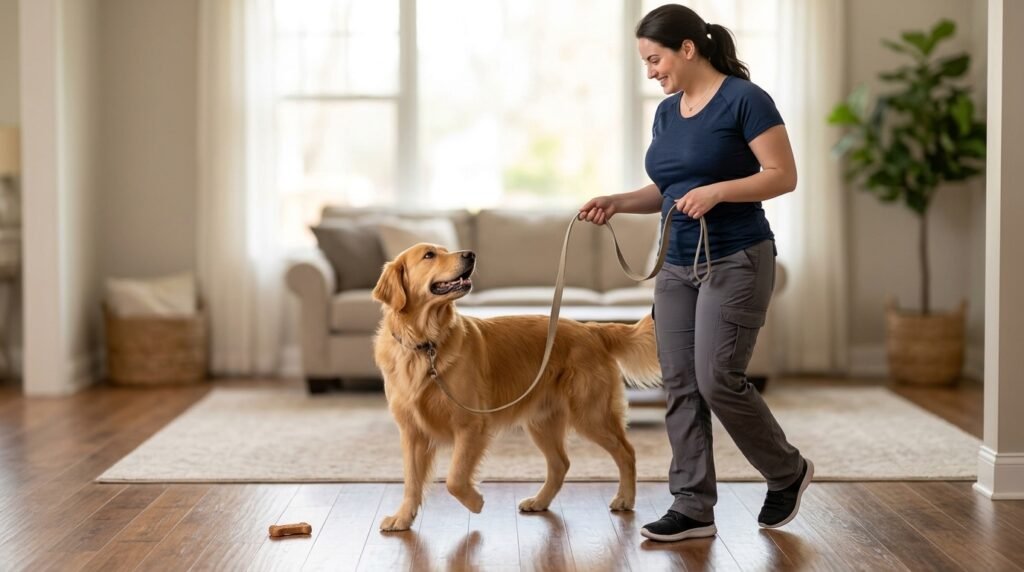
Do not drag your dog past food with the leash. The goal is a voluntary response, not simply preventing access through physical restraint.
If your dog repeatedly hits the end of the leash trying to reach the item, increase your distance.
Distance makes many distractions easier.
Step 7: Generalize the cue to real life
Dogs do not automatically understand that a behavior learned with a treat in your living room applies to a napkin outside, a toy at a friend’s house, or food near a park bench.
You have to generalize the skill.
Practice with safe, controlled versions of:
- Different foods
- Toys
- Tissues
- Empty food wrappers
- Household objects
- Items placed near the sidewalk
- Mild outdoor distractions
Change one difficulty at a time.
If you simultaneously introduce a busy park, highly desirable food, passing dogs, children, traffic, and greater distance from you, the jump may be too large.
Instead, make progress gradual.
Your dog’s response in the kitchen may become reliable long before the same response works on a busy walk.
That does not mean your dog is stubborn. It means the environment has changed the difficulty of the behavior.
How to Practice Leave It in Real-Life Situations
Once your dog understands the basic cue, training should become more representative of everyday life.
Food on the ground
Create a controlled setup indoors.
Place a low-value food item somewhere you can prevent your dog from reaching it. Walk past at enough distance for your dog to succeed.
Give your cue once.
Reward your dog for disengaging and continuing with you.
Over multiple sessions, gradually reduce the distance.
Never use genuinely dangerous foods as training props. There is no reason to practice with chocolate, medication, xylitol-containing gum, grapes, or another toxic item.
During walks
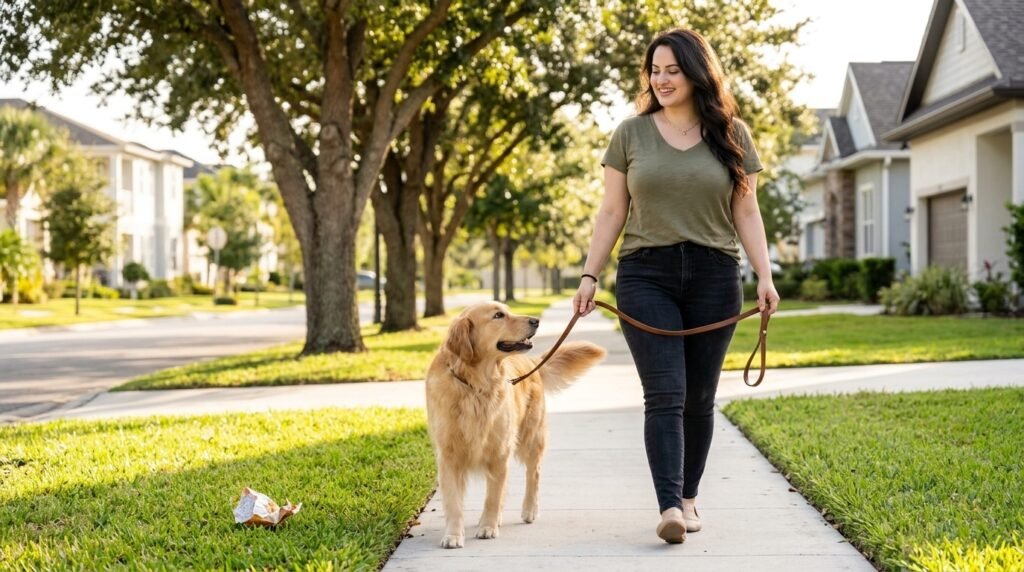
Outdoor leave-it training can be significantly harder because smells, food scraps, wildlife, and environmental movement compete for your dog’s attention.
Begin on a quiet route.
When you spot a safe distraction before your dog reaches it:
- Give “leave it.”
- Mark the moment your dog disengages.
- Reward beside you.
- Continue walking.
If your dog cannot respond, move farther from the distraction.
Avoid deliberately testing the cue around a hazard simply to see whether the training “works.”
Training setups should be controlled. Real hazards should be managed.
Around toys
Once food exercises are easy, use a moderately interesting toy.
Place the toy where your dog can see it but cannot immediately grab it.
Cue “leave it.”
Reward your dog for turning away.
This helps prevent the phrase from becoming a food-only command.
Around household items
You can rehearse with harmless objects your dog sometimes investigates, such as an empty cardboard box or clean tissue.
The purpose is to teach a broader concept:
“Leave it” means disengage, regardless of what the object is.
Management remains important. Training does not mean you should leave medications, dangerous foods, batteries, cleaning products, or choking hazards within reach.
Why Your Dog Ignores the Leave It Command
If your dog performs beautifully indoors but seems to forget everything outside, the training probably has not failed.
Usually, the environment has become harder.
Here are common reasons.
| Problem | Possible Cause | What to Change |
|---|---|---|
| Dog keeps going for the item | Exercise is too difficult | Increase distance or use a lower-value item |
| Dog responds only when food is visible | Treat has become part of the cue | Keep rewards hidden until after success |
| Dog ignores you outdoors | Distractions are too strong | Practice in quieter locations |
| Dog understands food but not toys | Skill has not generalized | Practice with several safe object types |
| Dog responds after several repetitions | Cue is being repeated too often | Say it once and make the next repetition easier |
| Dog becomes frustrated | Session is too long or difficult | End sooner and increase success |
| Dog stares at the item indefinitely | Criteria may be unclear | Reward a clear head turn or check-in |
Your reward may not be valuable enough
A piece of kibble may compete successfully with a boring object in your living room.
It may not compete with discarded food outside.
Use rewards strategically. Difficult situations often deserve better reinforcement.
You progressed too quickly
Training is not a straight line.
If your dog succeeds nine times and then struggles when you increase the challenge, return temporarily to the previous level.
Making an exercise easier is not going backward. It gives the dog another opportunity to learn the correct response.
The dog has learned the environment, not the cue
If you always practice in the same room with the same treat in the same position, your dog may rely heavily on that entire picture.
Practice in different rooms and eventually in controlled outdoor settings.
This principle is similar to building reliability with a stay around increasing distractions: reliability develops gradually rather than appearing automatically in every environment.
Common Leave It Training Mistakes
Even a simple cue can become confusing when the rules constantly change.
Saying “leave it” after the dog already has the object
Once an object is inside the dog’s mouth, your preventive leave-it cue is no longer the best description of the behavior you need.
Use your trained release cue.
This distinction protects the meaning of both commands.
Letting the dog get the forbidden treat repeatedly
During structured leave-it exercises, avoid allowing your dog to succeed in grabbing the item after ignoring your cue.
Use your hand, foot, leash, distance, or another safe barrier to control access.
Always showing the reward first
Visible food can help during early learning, but eventually your dog should learn:
cue → behavior → reward
rather than:
visible chicken → maybe I should listen
Keep rewards available but begin delivering them from a pocket or treat pouch after the correct response.
Punishing mistakes
Do not use the exercise as an opportunity to intimidate your dog.
Reward-based training organizations recommend teaching desired behavior rather than relying on aversive corrections.
If your dog fails, first ask:
How can I make the next repetition easier?
That might mean increasing distance, lowering the object’s value, moving indoors, or reducing distractions.
Making every session progressively harder
Not every repetition needs to beat the previous one.
Mix easier successes into training.
For example:
easy → easy → slightly harder → easy → harder → easy.
That helps maintain confidence and keeps the behavior rewarding.
Using leave it instead of management
Even an excellently trained dog is still a dog.
Do not leave unsafe foods or medications accessible because your dog “knows leave it.”
Training and environmental management should work together.
When “Leave It” Is Not Enough for Safety
A leave-it cue can reduce risk, but it is not emergency medical treatment.
If your dog has already swallowed something potentially dangerous, stop practicing the cue and determine what was ingested.
The FDA advises owners to contact a veterinarian or pet poison-control resource promptly when a pet eats something potentially dangerous.
For example, FDA guidance on xylitol exposure in dogs warns that xylitol-containing products can cause severe poisoning and advises contacting a veterinarian, emergency clinic, or animal poison-control service immediately after suspected ingestion.
PawMindTips also has a guide to household items poisonous to dogs that can help owners recognize common household risks.
If your dog may have swallowed poison, medication, a battery, a sharp object, string-like material, or another potentially dangerous foreign object, contact a veterinary professional promptly.
Do not automatically induce vomiting or administer a home remedy. Appropriate treatment depends on what was swallowed and the dog’s condition. The Merck Veterinary Manual emergency guidance recommends contacting a veterinarian and following professional instructions in emergencies.
Similarly, if your dog is unable to breathe normally, collapses, or shows another severe emergency sign, seek immediate veterinary care rather than relying on a training cue.
A strong leave-it response is preventive protection, not a substitute for professional care after an exposure has occurred.
FAQs
How long does it take to teach a dog to leave it?
Some dogs understand the basic closed-hand exercise within a few short sessions, but reliable responses around outdoor food and other strong distractions generally require considerably more practice. Progress according to your dog’s success rather than a fixed timetable.
Can puppies learn the leave it command?
Yes. Puppies can begin learning simple reward-based impulse-control exercises in short, easy sessions. Start with low distractions and safe practice items, and keep expectations appropriate for the puppy’s age and experience.
What should I do if my dog will not leave food alone?
Make the exercise easier. Increase your distance from the food, use a less tempting practice item, and reward with something your dog values more. Prevent access to the practice item so repeatedly grabbing it does not become part of the exercise.
Should I say “leave it” or “drop it”?
Use “leave it” when you want your dog to ignore something before picking it up. Use “drop it” when the object is already in the dog’s mouth. Keeping separate cues makes your instructions more precise.
Conclusion
Learning how to teach a dog to leave it starts with a very small decision: your dog notices something tempting and chooses to disengage.
Begin with food safely enclosed in your hand. Reward your dog for backing away, progress to an open hand and floor exercises, add the verbal cue only when the behavior is becoming predictable, and gradually introduce distance, movement, new objects, and real-world distractions.
Keep training positive and achievable. If your dog struggles, reduce the difficulty rather than repeating the cue or punishing mistakes.
With consistent practice, “leave it” can become an extremely useful everyday safety skill. Just remember that training works best alongside sensible management—and if your dog has already swallowed something potentially dangerous, contact a veterinarian rather than depending on the cue.